Containment Sump Installation Done Properly

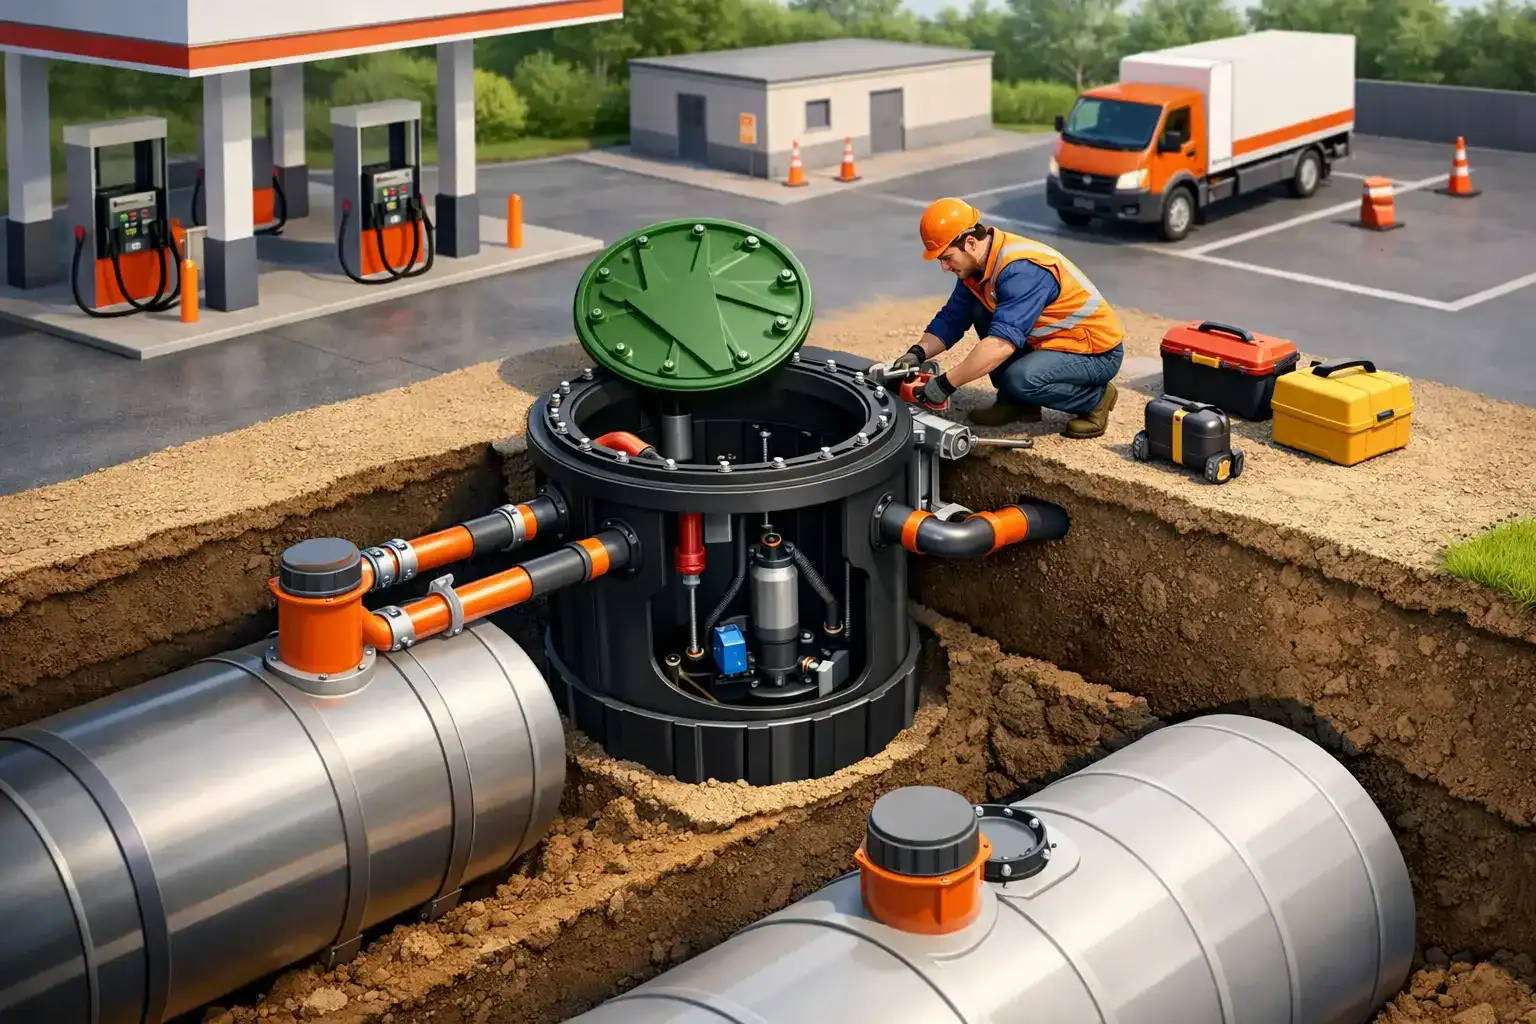
A containment sump is only useful if it captures a spill before the spill reaches a drain, soil, waterway or neighbouring work area. That makes containment sump installation a site-planning task, not simply an equipment purchase. The location, capacity, surface preparation and drainage controls all need to suit the liquids handled on site and the way vehicles, drums, plant and people move around the area.
For warehouses, workshops, fuel-handling areas and chemical storage locations, a correctly installed sump provides a controlled low point for leaked liquids and contaminated wash-down water. It can support a wider bunding arrangement, protect stormwater systems and make recovery safer for the people responding to an incident.
Start with the spill risk, not the sump size
Before selecting a containment sump, identify what could leak, where it could leak and how much liquid could reasonably be released. A small sump under a decanting point may be suitable for drips and minor container failures. It will not be adequate beneath an intermediate bulk container, a bulk transfer connection or equipment holding substantial volumes of fuel, oil or chemicals.
Consider the largest credible release, rather than an average day-to-day spill. This may include the contents of the largest container in the area, liquid displaced by stored equipment, rainfall where the sump is exposed, and any firefighting water or wash-down water that could enter the containment zone. Capacity requirements can vary according to the substance, site design and applicable environmental or dangerous goods requirements. Check the obligations that apply in your state or territory and the conditions of any site environmental plan.
Chemical compatibility matters just as much as volume. A sump intended for oils may not suit aggressive acids, solvents or oxidising chemicals. Confirm that the sump material, grates, seals, fittings and any surrounding bunding are compatible with the liquids being contained. If several incompatible substances are used nearby, separate containment may be the safer and more manageable option.
Choose a location that prevents spread
The ideal position is close enough to the risk source to intercept a release, but not so close that normal operations make access unsafe. For example, a sump beneath a dispensing or decanting area needs to sit within the likely spill path while allowing operators to stand securely and safely access valves, hoses and containers.
Keep containment away from stormwater drains wherever possible. If a drain cannot be avoided, it should be protected with an appropriate isolation method so contaminated liquid cannot enter the drainage network. A containment sump must not create a false sense of security where a direct pathway to stormwater remains open.
Traffic is another practical consideration. Forklifts, pallet jacks, trolleys and vehicles can damage poorly protected containment equipment or create trip hazards around raised edges. In trafficable locations, select a load-rated grate or cover and ensure the full assembly is rated for the actual vehicle loads, not just foot traffic. Clearly mark the area and include it in traffic management planning where necessary.
Avoid placing sumps where rainwater will naturally collect unless they are designed for outdoor exposure and there is a documented method for managing accumulated water. Open sumps can fill with rain, reducing available containment capacity precisely when it is needed. Never discharge sump contents to drains without first confirming the liquid is uncontaminated and disposal is permitted.
Prepare the base before containment sump installation
A sump performs as part of the surrounding surface. Cracked concrete, poor falls and unsealed penetrations can allow liquid to bypass the containment point. Inspect the proposed area before installation and rectify defects that could compromise the system.
The base needs to be level, structurally sound and capable of supporting the equipment under its maximum expected load. Follow the manufacturer’s installation instructions for excavation depth, bedding, concrete surround, anchoring and curing times. Underground and recessed systems usually need more detailed civil preparation than above-ground portable or modular units.
Surface grading is critical. The surrounding floor should direct a spill towards the sump without allowing liquid to escape through doorways, expansion joints, service penetrations or uneven sections of slab. A shallow fall is generally easier to manage than a steep grade that encourages fast-moving liquid or makes equipment unstable.
Where a containment area includes bund walls, ramps or flexible bunding, inspect the joins between components. Small gaps at a wall, ramp or drain interface can become the escape route for a significant spill. Sealant and joint materials must be compatible with the chemicals present and maintained as part of routine inspections.
Manage drainage and isolation deliberately
A sump is not a general-purpose drain. Its role is to retain liquid until the contents can be assessed, recovered and disposed of through an approved process. Connecting a containment sump directly to stormwater, sewer or another unprotected drainage line undermines that purpose.
Some sites require controlled drainage arrangements for clean rainwater or operational wash-down. Where this is necessary, use a documented isolation arrangement such as a manually operated valve, blind flange or other approved control. The default position should prevent release. Only authorised staff should operate the control, and they should know what checks are required before any discharge occurs.
Install clear signage at the sump and any associated isolation point. Staff should be able to identify whether the system is for containment, what substances may enter it, and who to contact if it fills or a spill occurs. This is particularly valuable across shift work, contractor activity and busy warehouse environments where assumptions can lead to contamination.
Install for access, inspection and spill response
Containment equipment that cannot be inspected or emptied is difficult to rely on. Allow sufficient clearance to lift grates, access plugs, connect recovery equipment and safely remove contaminated absorbents. If the sump sits beneath a pallet, vehicle or fixed plant, plan how responders will reach it during an actual incident.
Provide spill response equipment close to the risk area. Suitable absorbents, drain covers, booms, PPE and waste bags enable staff to stop spread and recover liquid while the sump contains what has already reached the low point. The right kit depends on the hazard: general-purpose absorbents are not a substitute for chemical-compatible response materials where corrosives or hazardous chemicals are present.
For larger installations, record the equipment location on the site spill plan. Include the sump capacity, isolation points, substances handled in the area and the response steps for a full or contaminated sump. A simple plan is easier to use under pressure than information stored only in a maintenance folder.
Test the system before putting it into service
Do not wait for a real spill to find out whether the floor falls the wrong way or a valve has been left open. Once installation is complete, carry out a controlled test using clean water where appropriate and safe to do so. Observe the flow path from likely spill points, check for pooling outside the containment zone and confirm that no liquid reaches drains or building exits.
Test access as well. Confirm a worker can remove the grate or cover, deploy absorbents, operate any isolation device and recover liquid without unsafe manual handling. If forklifts or other mobile plant operate nearby, verify clearances and make sure markings remain visible from the operator’s position.
Document the test results, photographs, capacity details and any corrective work completed. These records support maintenance planning and demonstrate that the containment arrangement has been considered as part of site risk control.
Inspect and maintain the sump
A containment sump requires routine checks, particularly in high-use or outdoor areas. Inspect it after spills, heavy rain, nearby construction work and changes to the materials stored or handled in the area. Routine inspections should cover the sump body, grate, seals, surrounding concrete, bunding joins, drainage isolation controls and accumulated liquid or debris.
Remove rubbish, sediment and used absorbents promptly. Debris can block access, reduce capacity and hide damage. Contaminated liquids and materials must be characterised and disposed of according to their hazard classification and local waste requirements – never treated as ordinary waste because they are out of sight in a sump.
Review the installation whenever operations change. A sump sized for drum storage may no longer be suitable after a new fuel tank, IBC decanting station or chemical process is introduced. Changes in traffic patterns, storage volumes and substances handled can all alter the original risk profile.
A well-planned containment sump gives your site time: time to stop the source, protect drains, deploy spill equipment and recover hazardous liquid safely. Select the equipment for the actual risk, install it as part of a complete containment system, and keep it ready for the day it is needed. Spillmaster can assist worksite buyers with practical bunding, absorbents and spill-control equipment to support that response.